This is mixing process of the wind Yamaya song. One of our teachers helped us mix the first song so we could a better quality.
in this audio me and Amina was experimenting without any tempo with the interludes of my Ep. and with the main songs we would include tempos to it. the reason why I did this is because I wanted the interludes to more of a freestyle and raw. This song is called Galaxy. This is one of the main songs that I included a metronome with, I didn't seem to like the outcome of this songs so I decided not to include it. Me and Amina also tried to experiement with different microphones such as the Ribbion, Titan and many more. Because we was using an amplifier to have the reverb sound on the guitar, so we tried experimenting with different microphones to see which ones where to sensitive and which ones where perfect. Also all the audio that says Mic Placement is the process of me and amina experimenting with mics and putting it in different postion, to see where the microphone would the best. this is another interlude with no tempo. This song is called beautiful. again Here we was also trying to experiement with the different sound of the microphones. this one of the first takes of the Earth songs. In this small audio we were trying to place the mics in the right place this the experiment with the titan microphone as the the main microphone. we mainly used up to 3-4 mics so we could have a clear guitar and a very clear vocal, and to also see were it was the best place to use the microphone. this is the experiment with Sontronic microphones This is with the Ribbion microphone. this is how the Titanic mic sounded with my Earth . For certain songs I felt as if the Titan was perfect for it but not all of the songs were meant for the Titan.


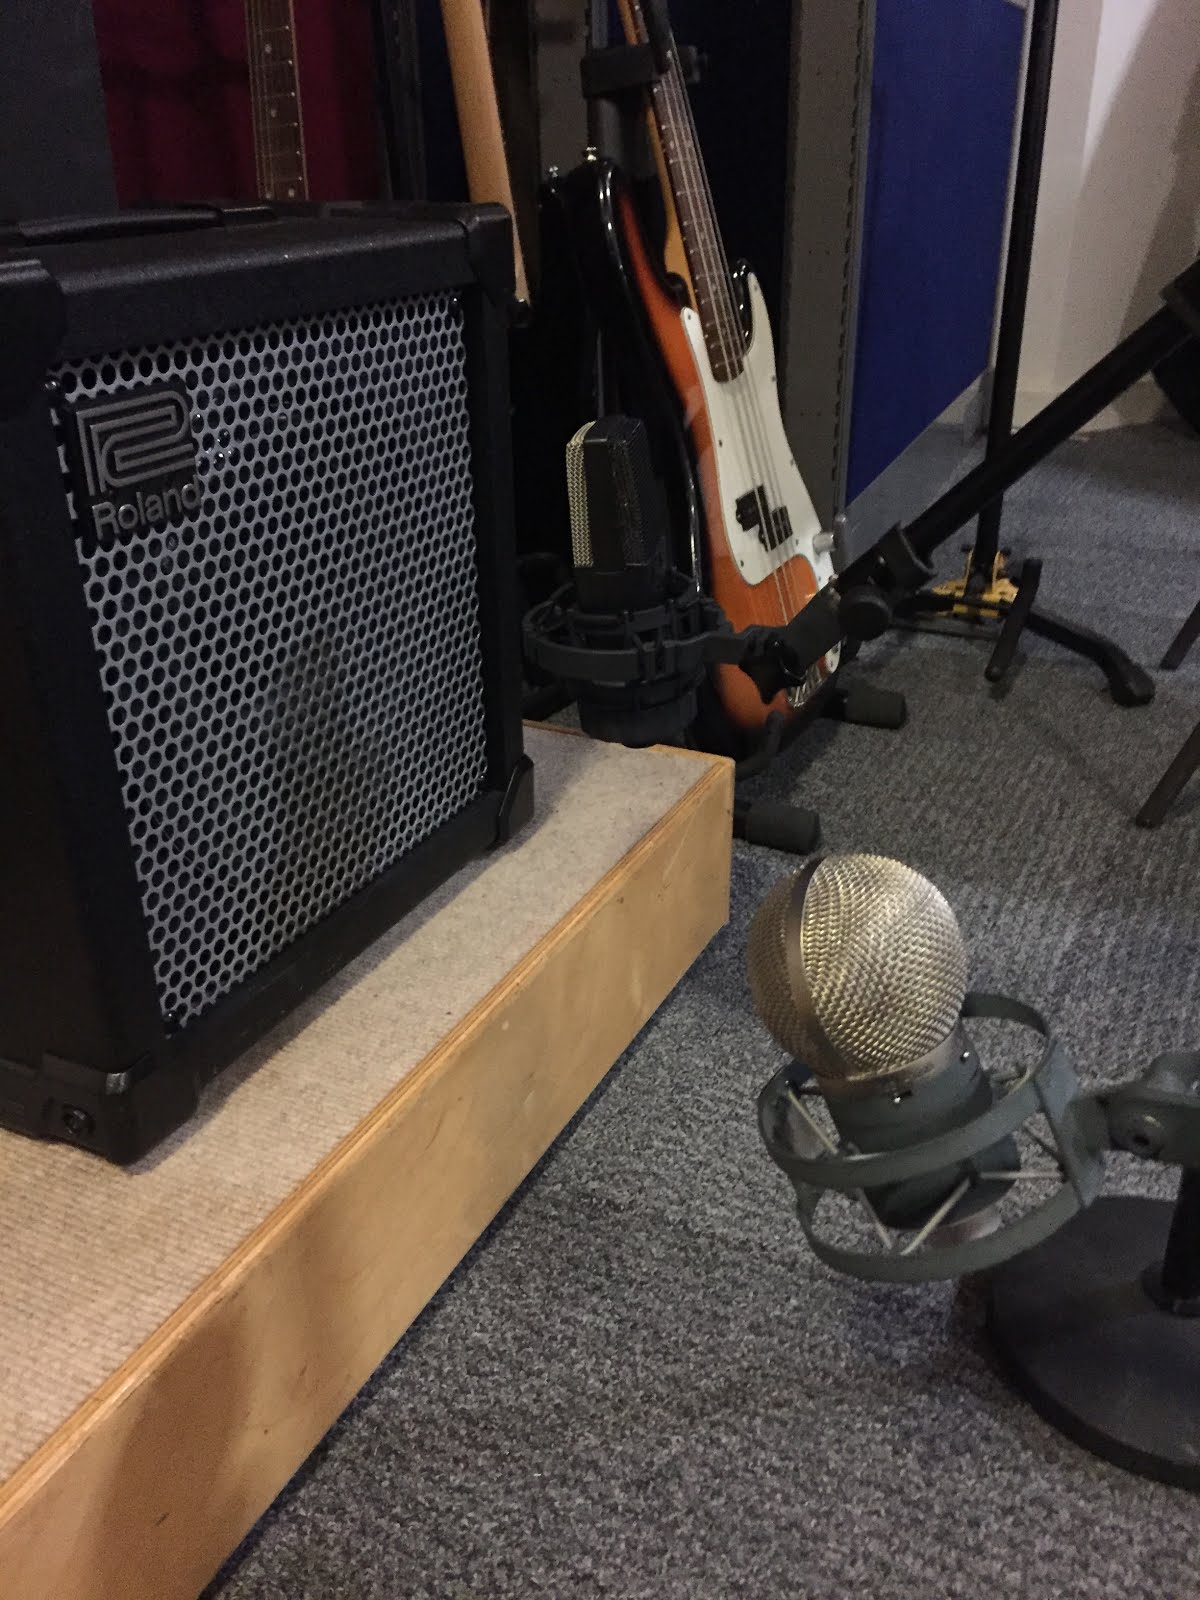
 This is the Titan mic.
These pictures represent what microphones we used how we used them, and what we used them for.
PRODUCTION
For part of my project I wanted to create an EP, but unfortunately on the production side I’m not too strong. I was able to get help from my friend Amina Saassaa And one of our teachers named Farz. During this process I was able to learn more than just the basics of logic I was able to learn how to mix add reverb and different effects to my Acoustic based EP. The majority of my work was done practically and on acoustic technique. I intentionally chose to design my EP acoustically because I thought that that was the most simplistic way to make my life much easier. The mixing wasn’t too hard because the majority of the work was done acoustically. The process of making an acoustic based EP was using At least 3 to 4 microphones just for the acoustic guitar, and one microphone for vocals.
Titan microphone
We used the titan because it is a condenser microphones which has a bidirectional polar pattern it is good for picking up certain sounds
pros
pros
.Flattering music sound
.Good transient without harsh sounds
.Cons because the microphone is so sensitive it picks up the surrounding room sound.
It captured the raw sound of the guitar to even the sound of me moving down the threat
Sontronic mic & Titan mic
.because they were very sensitive mics we had to control the gain, dynamics and the velocity, whilst I was playing the guitar because if we didn’t the guitar would be too loud and would have created distortion and a high pitch crackling sound. But because me and Amina had controlled all the measurements with both microphones so well, the outcome of the guitar came out really great. And because we mixed both these microphones together it created a very clean and pure sound. For some of the tracks we used the SM7 microphone as vocal mic with the Cardoid pattern. This microphone was extremely good for the vocals, because it was extremely clear to the point that you can my breathing in between the vocals. That was one of the down falls of this microphone, because I didn’t seem to enjoy the extra sound, absorbed way too much of the surroundings and caught onto small sounds that were not needed. But afterwards we would use channel EQ and other mixing channels to exclude the unwanted extra sound.
Sontronics Stc-3X
Mini pattern available as well as cardiod.
Solid construction.
Are use this microphone mainly for recording vocals and occasional use it for guitar.
It’s a condenser microphone with multi pattern intangible polar pattern.
When using it with guitar we changed it to a cardiod pattern as we only wanted the sound in one direction
Se Electronic Ribbion microphone
Pros and cons This microphone was extremely delicate we had to be very careful in the way we were handling it. We used this microphone near the end of the other guitar near the neck so we can hear the movement of my fingers moving up and down the throat. Creating a lovely texture to the audio. This really helped us because when I came to the Mixing we had A handful of recordings to choose from and it made things easier for us when mixing the songs. Because the majority of the recorders were so good there was less work on mixing and all we had to do was add a small reverb and clean a few places of the recordings.
We put the Titan microphone and Sontronic near the whole of the guitar so we could also have a clear and full sound of the guitar. We also used the Sontronic for vocals for the majority of my songs.
Mixing
The process of mixing my recordings of my songs Wasn’t too difficult, because I had the help of one of the students in my class Amina and when of the teachers in my class. We used really high quality microphones to get the best quality, as well as using more than 3 to 4 microphones for vocals and guitar. For the microphones we had to experiment on which microphone was best for certain types of vocal performance or guitar techniques that I was using.
Channel EQ
We use this channel to control the high pass and low pass frequency and include filters on the areas that were not needed. The channel EQ it is a versatile multiband EQ.
It gives you eight different types of frequency bands which are, lowpass, and highpass filters, Low and high shelving filters, and for flexible parametric bands. It also has a Fast Fourier Transform (FFT) which is a analyser that shows you the frequency curves of the audio you want to adjust. This channel also can show you the shapes and sounds of each individual track and audio. Channel EQ Gain Controls is used mostly for controlling the frequency. It shows the overall output level and the signals. It’s best used when you want to cut or boost and individual frequency band. Analyser button it turns the analysis of and on, Pre/post EQ button and it also shows whether the analyser has given the frequency before or after the EQ is applied, only when the analyser mode is active.
Channel EQ Parameter
This section of this channel helps you to fix, adjust and control the frequency, gain and sound of each of audio tracks. It also helps identify the peaks and RMS so you can filter it.
At first we set the channel EQ to a flat response meaning the below frequency will be boosted or cut, then afterwards turn on the analyser and play the audio signal. After that we look through the graphic display to see where the peaks and quiet areas are on the audio so we can adjust the sound. We also went through the areas that sound a bit off or distorted.
There are different colours for different EQ bands on the graphic display. You can adjust the frequency of the bands by dragging them horizontally. The DB (Decibel measurement ) which is used to measure the sound Level and signals, can be controlled by moving it vertically left or right at edge of the display. This channel allowed the outcome of the audio to sound clear and clean.
Compressor
Is the compression to resolve The signals that are too high or too low and it balances it out, why would you send the dynamic range of the input. This will help the audio sound more balanced, clean sound and give it more body
Overdrive
This channel is used to control or increase the distortion sound of the audio track. We didn’t wanna hear any distortion on the acoustic based audio because I thought that it wouldn’t some natural and my goal was to make an EP that sounds peaceful and relaxing, and distortion an extreme sound that I don’t seem to enjoy hearing.

This is the EQ channel and what we did within the process.

This picture is representing the recorded audio of different microphones, and how we was able to chose from the different audio.


These are some of the pictures of the process of mixing and recording the audio.
No comments:
Post a Comment